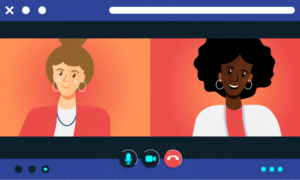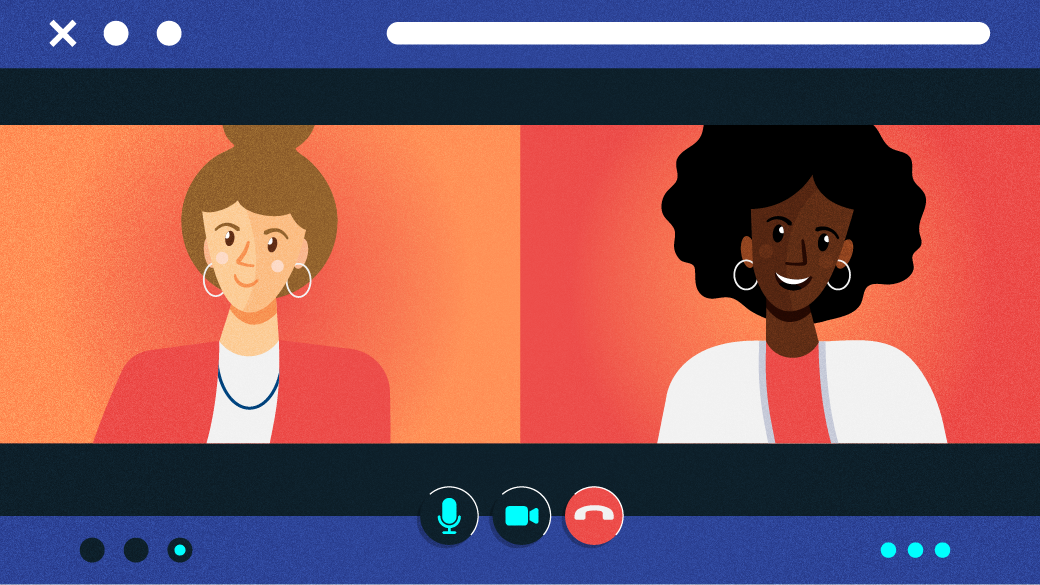
Have you ever been in an online assembly the place somebody asks, “Can you see my screen?” or “Can you hear me?” and 400 folks reply “yes” on the identical time? Or even worse, no person solutions in any respect? Have you ever wished to indicate settlement or give a affirmation on a video name with out having to show in your microphone, since you really feel it is perhaps disruptive? This occurs to me typically. Like when somebody asks, “Does anyone have anything else for the good of the order?” and I need to say, “No, I’m good,” however I do not need to converse over anybody else who has one thing so as to add.
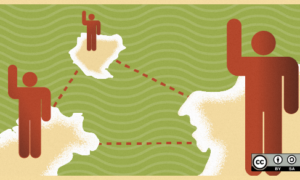
One of the largest challenges with digital communication is that it’s kind of more durable to select up physique language. Instead of sitting in the identical room along with your co-workers, you are taking a look at tiny thumbnails of them, so physique language context may be misplaced, particularly on smaller screens. I’ve a 13″ Macbook Pro. It’s a really small display, and if I am not docked to my monitor, I must look additional arduous to select up delicate cues.
[Read subsequent: 10 ways to fight virtual meeting fatigue]
Some of my intelligent co-workers have solved this downside with paper indicators or index playing cards taped to pencils, however that is far too simple an answer for me. So, after all, I felt the necessity to over-engineer this.
Here is what I did.
Install your software program
Enter Open Broadcaster Software (OBS). OBS permits you to run dwell video processing, just like what you’d see in a dwell tv broadcast. You can add a number of enter sources, swap between them, put textual content on the display just like information broadcasts, and do way more. OBS can be used closely by streamers within the gaming neighborhood.
OBS is the bottom software program you may use for this answer, so download and install it. OBS helps plugins, and for this to work appropriately, you may want to put in a pair.
For Mac customers, the primary plugin to put in is OBS Virtual Camera for macOS. This permits OBS to register a “webcam device” in order that it may be used along with your videoconferencing software program. I’ve used it with Zoom, Google Meet, BlueJeans, and Jitsi with none issues. You can discover the installation instructions within the plugin’s GitHub repo.
For Linux customers, obtain and set up the V4L Virtual Camera for Linux plugin as described within the undertaking’s README file.
For Windows customers, obtain and set up the Virtual Camera for Windows plugin as described within the undertaking’s README file.
The subsequent plugin to put in is Advanced Scene Switcher. This plugin works on Linux, MacOS, and Windows, and it permits you to routinely cycle again to the conventional webcam view after a second or two once you need to overlay a “YES” or “NO” message. You can discover the installation instructions on the plugin’s web site. This is not strictly vital; you’ll be able to swap scenes manually, however it is a good function to have.
Set up the primary scene
There are two key phrases you need to perceive earlier than persevering with. The first is “scene.” A scene is the way you arrange separate overlays. As you flip between the completely different scenes, you are flipping between completely different views that the folks on the opposite aspect of the web tubes see of you. In the most straightforward model, you may arrange three separate scenes. One is simply your webcam, one is a YES scene, and one is a NO scene.
The second time period to know is “source.” These may be pictures, textual content, your webcam, and many others. Think of those as particular person layers you stack on high of one another to attain what you need to show.
First, arrange your default scene. This needs to be there once you begin OBS. In the bottom-right of OBS, find the Scenes panel. Just to the proper of that, you see a listing of Sources.
Add your webcam enter as the primary supply. If you click on on the + button on the backside of the Sources field, you get a listing of the sources you’ll be able to add. Select Video Capture Device, after which choose your webcam because the machine. In the field, you need to see no matter your webcam sees. Click OK so as to add this supply to your scene.
You may want to regulate the dimensions of the webcam to make it take up the complete output space.
Note that your webcam enter will not be flipped in OBS. What you see in OBS might be precisely what the folks on the opposite aspect of your name will see. You will see the mirrored output in your software (as you usually do), however you will not see the mirrored output in OBS.
That’s it for the primary scene!
Set up extra scenes
Now you could arrange the YES and NO scenes. To add a brand new scene, click on on the + signal on the backside of the Scenes field. Give the scene a descriptive identify, I named mine YES as a result of that is the scene the place I—look ahead to it—added a “YES” overlay.
Much such as you did for the default scene, add your video seize machine to your Sources checklist, however this time you may have the choice to reuse the one you already created. To achieve this, choose Add Existing and choose the video seize machine you created for the primary scene.
Next, you could add a textual content overlay. Resize the video enter once more (if vital), click on on the + signal once more, and choose Text. Give it a descriptive identify (I used sureText), add the textual content “YES,” and choose no matter font you need. When I set this up, I had an issue if I attempted to alter the font measurement right here, so I left it because the default; you’ll be able to resize the textual content with the dimensions controls the identical means you resized the webcam enter. To change the font colour, scroll down beneath the place you entered textual content—it isn’t tremendous obvious which you could scroll there, so the power to alter the colour may appear hidden.
Resize and place your textual content on the display. That’s it! Run via the identical steps to create a brand new scene for “NO” (and every other reactions you may need to show). Feel free to experiment with picture overlays or different sources.
Automatic scene switching
The subsequent step is to create scene computerized transitions out of your secondary (sure/no) scenes again to the default webcam scene. From the menu bar, choose Tools > Advanced Scene Switcher after which navigate to the Sequence tab.
For my computerized transitions, I used “When ‘NO’ is active, switch to ‘Default’ after ‘2.00s’ using ‘Fade.'” To add that transition to the checklist, click on on the + signal on the backside of the display. The key’s to have your overlay scene swap to your default scene after a set period of time. I like to make use of the fade transition as a result of I do not need to divert folks’s consideration greater than vital. Do the identical for every of the overlay screens you made.
To see how the transitions work, return into the primary OBS display and click on on a special scene. Your overlay ought to pop up after which transition again after the time you set.
Coup de grace
Now, hearth up your video chatting software of selection, and choose OBS Virtual Camera as your webcam. Every videoconferencing software program may have a special means to try this, which you need to be capable of discover in its documentation. You won’t see your webcam however quite a picture that claims one thing a couple of Mirrored view. This is the picture that’s displayed when your digital digital camera shouldn’t be began—although your digital camera is on and OBS exhibits that your digital camera is on within the software program, you continue to want to begin your digital digital camera by choosing Tools > Start Virtual Camera within the OBS menu bar. Now you need to see what your OBS is broadcasting.
For Mac customers, I’ve written an Applescript you’ll be able to run to begin the digital digital camera, as it isn’t began by default once you begin OBS; you could find it in this Gist. You might want to enable this script to run in your Security and Privacy settings. Running this script will open OBS (and begin it if it isn’t already began), begin your digital digital camera, and reduce OBS to your dock. I exploit OBS-Websocket to manage my scene switching, however you’ll be able to take away the road within the Applescript file to attenuate it and simply click on on the completely different scenes in OBS to modify to it.
Final ideas
You ought to have not less than two scenes you’ll be able to swap to indicate a message on the display of your subsequent internet convention. You might already be imagining how one can prolong this performance to play GIFs, movies, emojis, pictures, and extra. Good luck!